Roof Hatch Safety Requirements: Guardrails, Gates, and Safer Access
An open roof hatch creates two related hazards. The first is the opening itself, which can expose people on the roof to a fall. The second is the transition through the hatch, where a person may be climbing a fixed ladder while also trying to unlock, lift, or control the hatch cover.
Federal OSHA addresses both parts of that problem. Under the general-industry walking-working-surface rules, employees must be protected from falling through holes that are four feet or more above a lower level. When a guardrail is used around a hole that serves as a point of access, the opening must use a self-closing gate or be offset so a person cannot walk directly into the hole.
That is the short answer. The practical answer requires looking at the entire access point: the hatch, ladder, guardrail, gate, clearances, locking method, and the way people actually use it.
A roof hatch is both an opening and an access point
A closed roof hatch can function as a cover when it is secured and capable of meeting the applicable cover criteria. The situation changes as soon as it is opened. Anyone already on the roof may be exposed to the opening, while the person climbing through it is negotiating the final ladder rungs and stepping onto the roof.
Those are different hazards, and they should not be treated as though a single piece of equipment automatically solves both.
Protection around the opening helps prevent someone on the roof from stepping or falling into the hatch. A properly designed gate protects the entrance while still allowing access. Ladder extensions, grab points, and powered hatch operation can make the transition through the opening more controlled.
The best roof hatch safety plan accounts for all of them.
What OSHA says about roof hatch protection
OSHA 1910.28(b)(3) requires employers to protect employees from falling through holes that are four feet or more above a lower level. The listed options include covers, guardrail systems, travel-restraint systems, and personal fall-arrest systems.
For ladderway floor holes and ladderway platform holes, 1910.28(b)(3)(iv) calls for guardrails and toeboards on exposed sides, with a self-closing gate or an offset at the entrance. Section 1910.29 adds the performance criteria for guardrails used around access holes.
Under OSHA 1910.29(b), a general-industry guardrail normally includes:
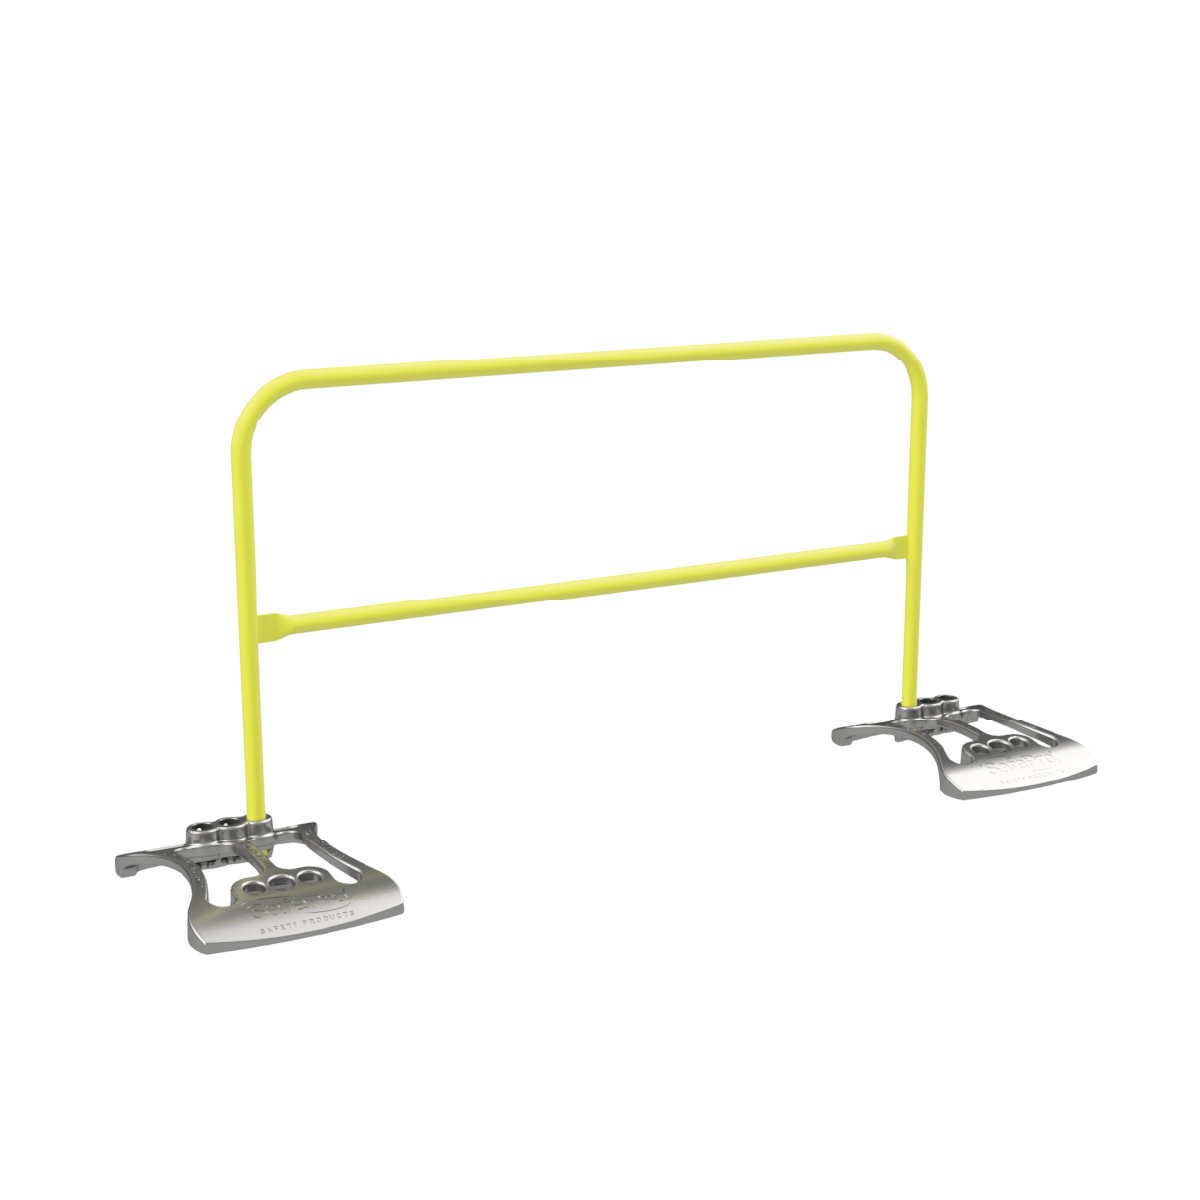
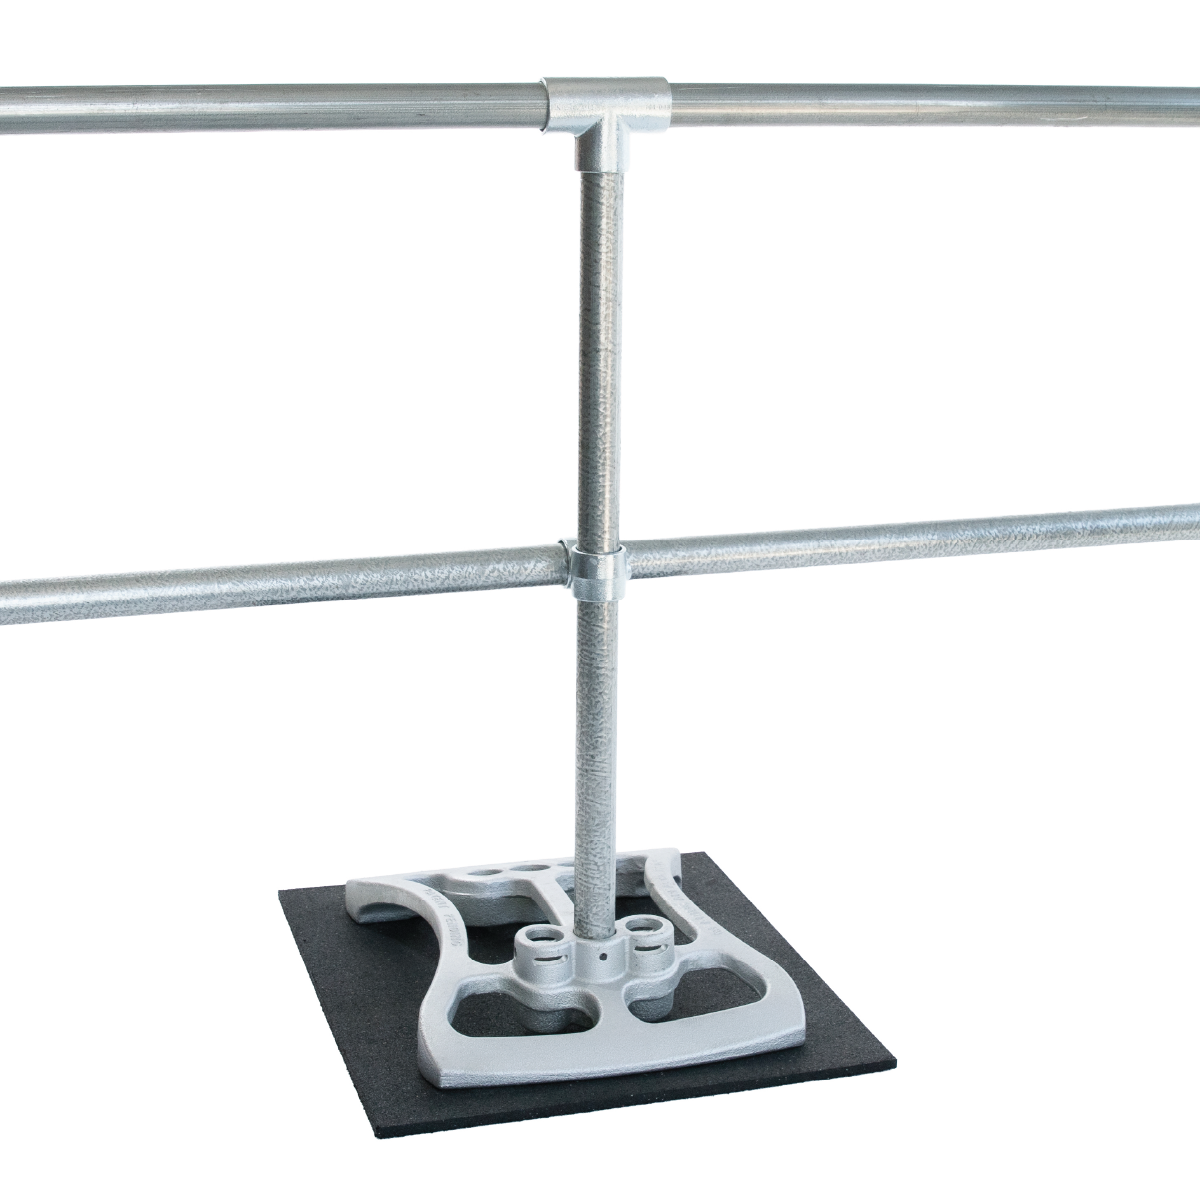
- A top edge 42 inches above the walking-working surface, plus or minus 3 inches
- A midrail or equivalent intermediate protection when there is no wall or parapet at least 21 inches high
- Capacity to withstand at least 200 pounds applied downward or outward near the top edge
- Intermediate members capable of withstanding at least 150 pounds downward or outward
- Smooth surfaces that do not create puncture, laceration, snagging, or projection hazards
- Protection on all unprotected sides or edges of the hole
- A self-closing gate that slides or swings away from the hole, or an offset entrance that prevents direct access to the opening
Construction work is governed by a different part of the OSHA standards. OSHA 1926.502(b) also requires guardrails around unprotected sides of holes and requires a gate or offset where the opening is used as a point of access.
The applicable rule depends on the work and the employer. A facility-maintenance employee and a roofing contractor may be using the same hatch under different OSHA standards.
Why a chain is not the same as a self-closing gate
A chain across an opening may look like a barrier, but it leaves room for inconsistent use. Someone has to disconnect it, pass through, and reconnect it. If it is left open, it provides no protection at all.
For general-industry access holes, OSHA 1910.29(b)(13) specifically identifies a self-closing gate or an offset. A compliant gate must include a top rail and midrail, or equivalent intermediate protection, and it must slide or swing away from the hole.
The practical advantage is simple: the gate returns to the protected position without depending on the last person to remember to put it there.
The ladder-to-roof transition deserves its own review
Guarding the opening does not eliminate the difficulty of reaching the roof or exiting it.
OSHA 1910.23(b) requires employees to face a ladder while climbing and use at least one hand to grasp it. The standard also says a fixed ladder terminating at a hatch must have enough cover clearance for easy access and, when the cover is counterbalanced, must open at least 70 degrees from horizontal.
In real use, the final few feet can still be awkward. A person may have to reach overhead for a lock, often in the dark, push against the hatch cover, wait for it to clear, and then find a stable handhold above the roof line. Tools or weather can make the transition worse.
Questions worth asking during an assessment include:
- Can the hatch be unlocked without overreaching from the ladder?
- Does the cover open fully and stay open reliably?
- Are there secure handholds above the roof line?
- Does the guardrail entrance align naturally with the ladder?
- Can the user maintain control while stepping from the ladder to the roof?
- Is there enough clearance for the user, clothing, and basic tools?
- Does the access method encourage people to prop the hatch open or bypass a lock?
What to look for in a roof hatch guardrail
A purpose-built roof hatch safety rail should protect the opening without creating a new problem for the roof, hatch, or user.
Complete perimeter protection
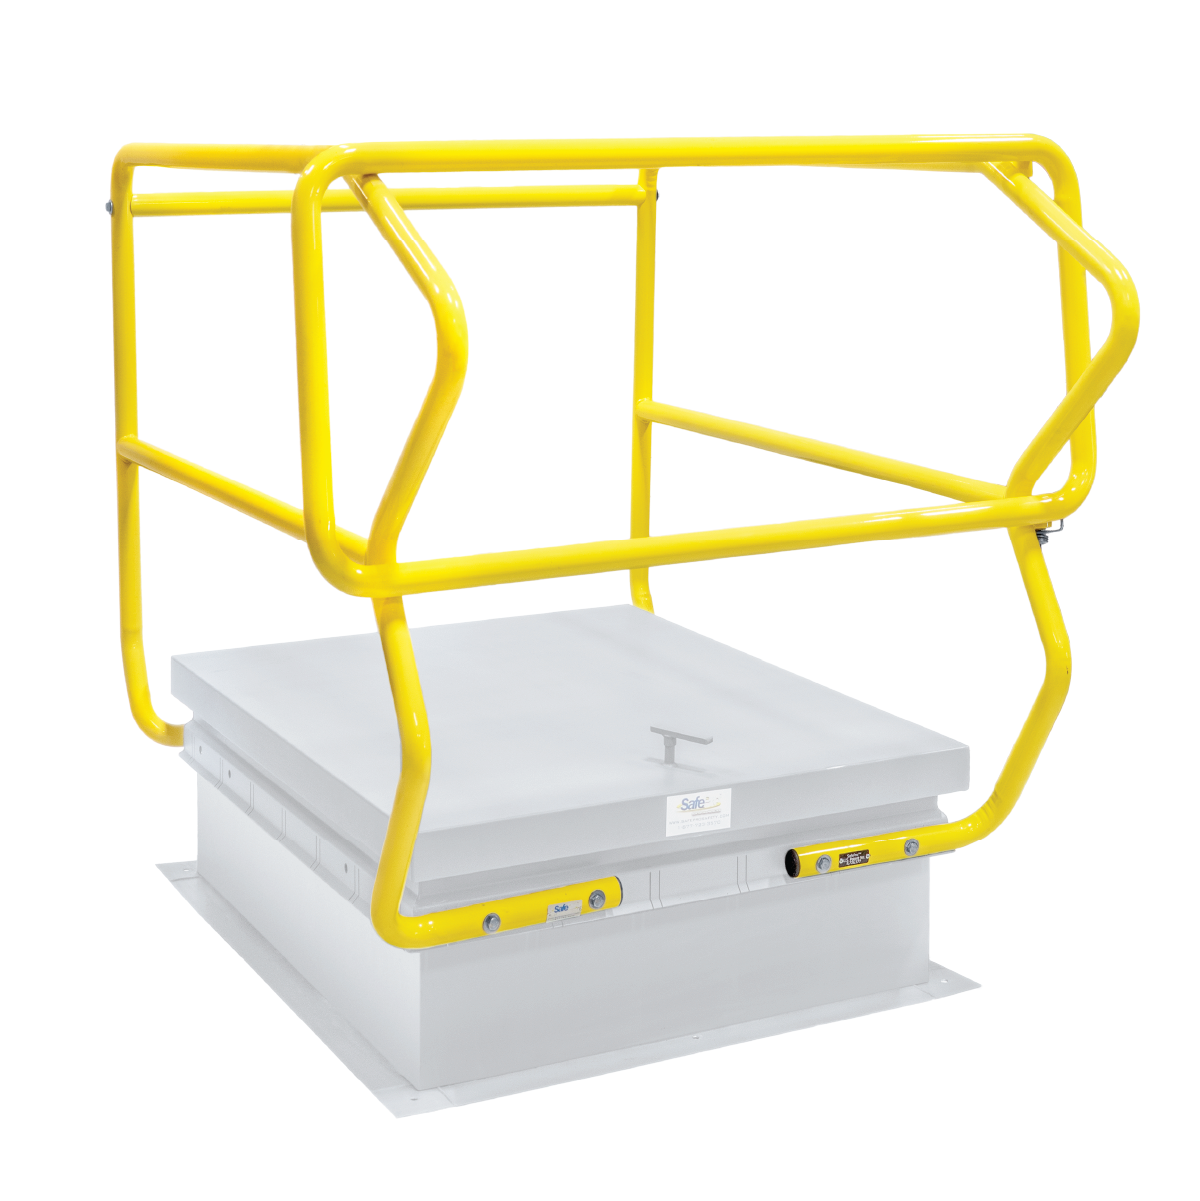
The system should protect every unprotected side of the open hatch. The entrance should be controlled by a compliant gate or an approved offset arrangement.
A gate that supports normal use
The gate should close automatically, move away from the hole, preferably swinging out and towards the next nearest fall hazard, and provide intermediate protection. It should not require a worker to lean across the opening to operate it.
Stable handholds
Rails extending above the roof line can provide something substantial to grasp during entry and exit. Some systems also incorporate ladder-assist features into the gate. Those features do not replace evaluation of the ladder itself, but they can improve the transition.
Compatibility with the hatch
Commercial roof hatches vary in curb dimensions, lid construction, hinge location, flashing, and installed condition. Confirm the system is approved for the actual hatch size and arrangement rather than relying on a nominal opening dimension alone. For SafePro hatch guardrails, the measurements required are the dimensions of the drip edge, as that is almost always where the rails will mount.
Installation that respects the roof assembly
Many retrofit roof hatch rails attach to the hatch curb rather than penetrating the roof membrane or flashing. That can simplify installation and reduce waterproofing concerns, but only when the system is installed exactly as its manufacturer requires.
Durable construction
Roof hatch protection stays outdoors. Materials, coatings, hardware, drainage, and dissimilar-metal contact all matter. The system should also be easy to inspect and maintain after installation.
When powered hatch operation makes sense
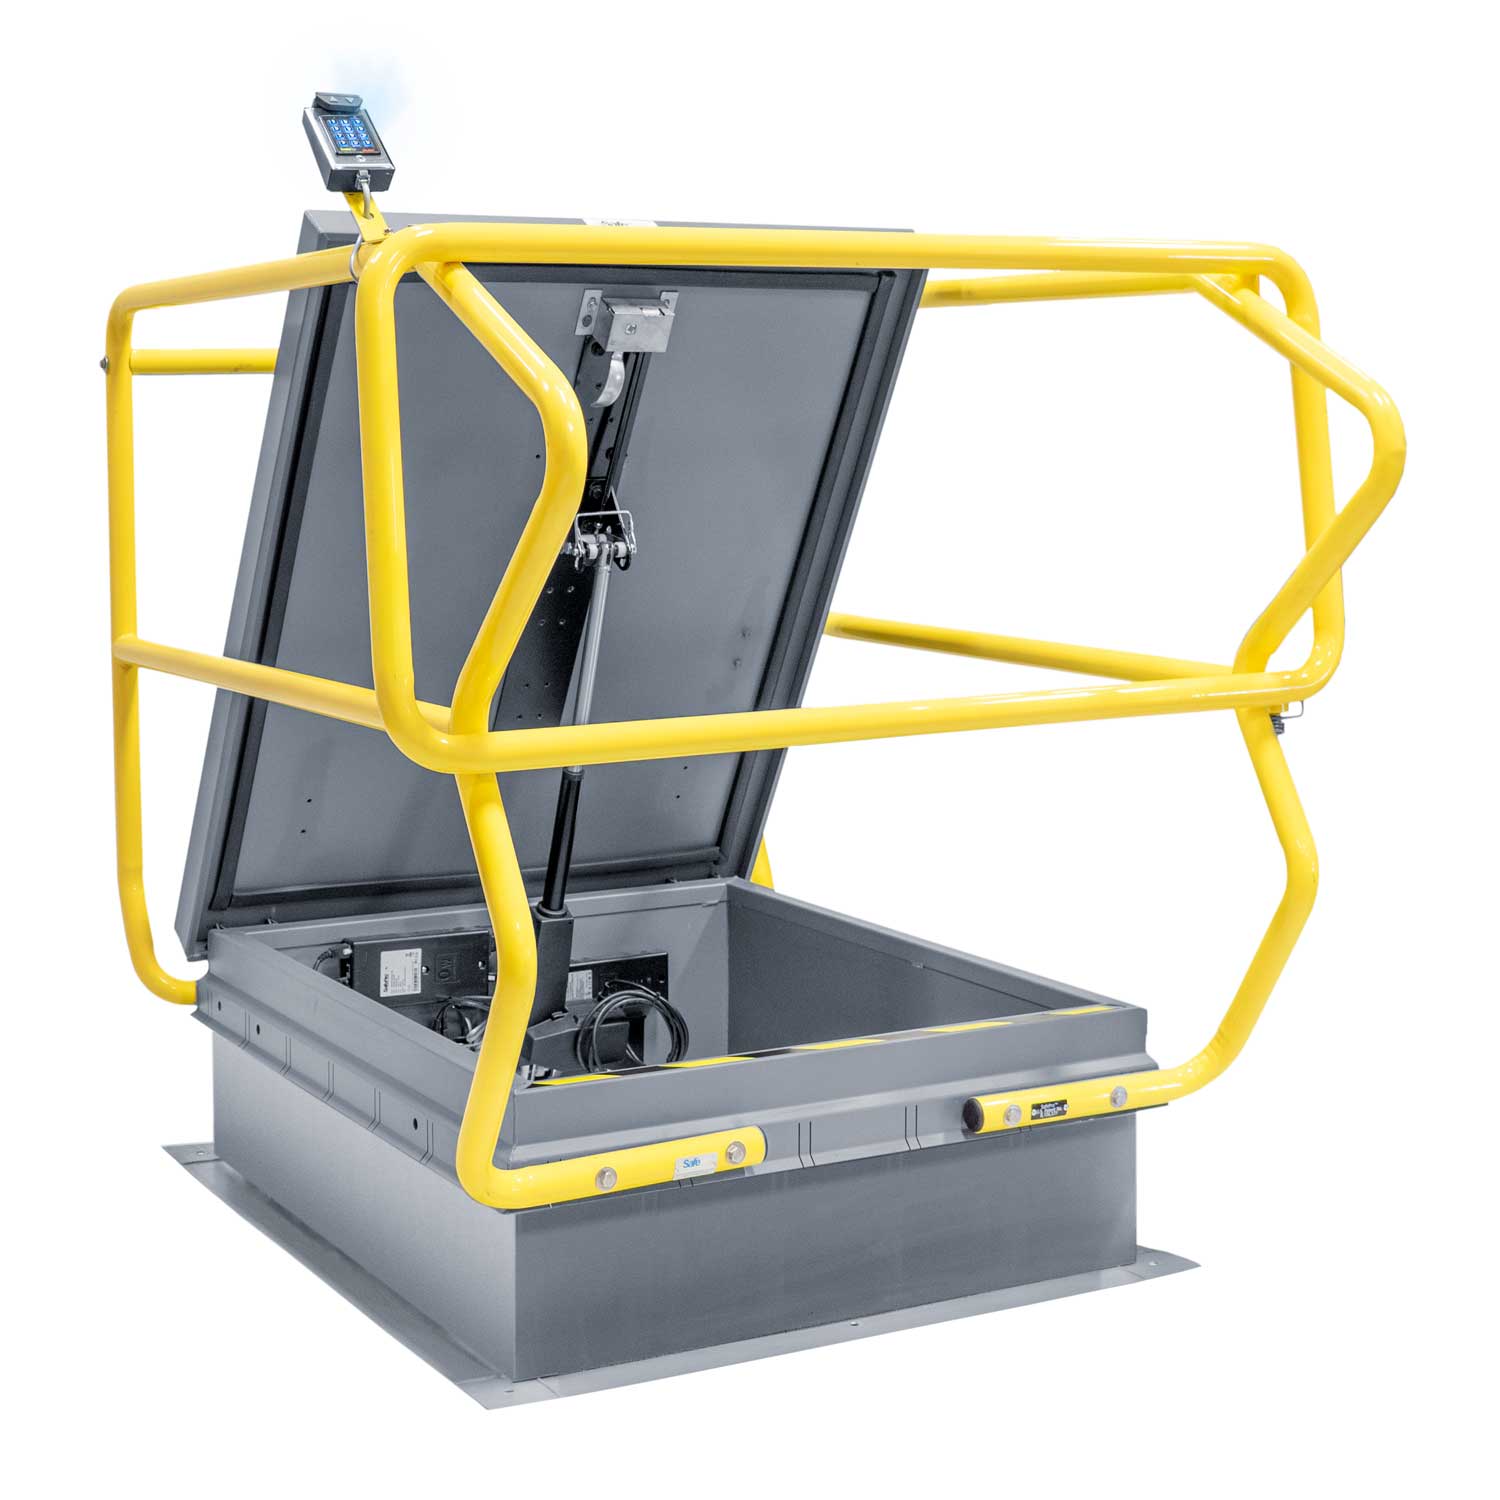
A guardrail protects the opening at roof level. A powered roof hatch opener addresses a different part of the access sequence by allowing the hatch to be unlocked and opened before the person reaches the top of the ladder.
That can be especially useful where:
- The hatch is accessed frequently
- The lid is large, heavy, or awkward to control
- The top of the ladder is dark, reducing visibility
- Employees or outside contractors need controlled access
- Shared keys and padlocks are difficult to manage
- The building already uses card readers or another access-control platform
- Facility management wants to reduce the temptation to leave a hatch unsecured
A powered opener does not replace the guardrail around the opening. The two systems address different hazards and are strongest when planned together.
SafePro’s Roof Hatch Safety Rail uses a four-sided steel design with a self-closing gate. The rails serve a double function as additional ladder rungs for exiting and entering the hatch. The Automatic Roof Hatch Opener can be configured for several activation methods, including keypad, remote, keyed control, card reader, or a compatible building access-control system.
A practical roof hatch assessment checklist
Before selecting equipment, document the access point as it exists today.
- Record the hatch manufacturer, model, curb dimensions, lid dimensions, hinge location, and installed condition.
- Identify whether the work falls under general-industry, construction, or state-plan requirements.
- Measure the fixed ladder, step-across distance, side clearances, and available handholds.
- Confirm that the hatch opens far enough and remains stable in the open position.
- Identify who uses the hatch, how often, and whether they commonly carry tools or materials.
- Review how the hatch is locked and who is authorized to access the roof.
- Evaluate the need for guardrails, a self-closing gate, ladder-assist features, and powered operation.
- Verify product compatibility, structural requirements, roof-warranty considerations, and manufacturer instructions.
- Establish inspection and maintenance responsibilities after installation.
No checklist can determine compliance without site context, but it prevents the most common mistake: choosing a product before fully understanding the access point. If you would like assistance choosing the right product for your application, reach out to our experts, who will be happy to assist.